A documentation of my preservation and preparation of local foods as I work through the seasons. This will serve as a reference tool for me in the future and as a sharing guide for family and friends...and anyone else interested. Hopefully, I can offer some useful methods, tips and recipes to share with everyone--be they novice or pro--and encourage them to join me in the exciting world of preserving and cooking with local foods.
Showing posts with label Best Equipment and Supplies. Show all posts
Saturday, November 24, 2012
Bye-Bye Microwave
I never thought in a bijillion years that I would even consider getting rid of my microwave, but after reading from this website: http://articles.mercola.com/sites/articles/archive/2010/05/18/microwave-hazards.aspx, I have not used my microwave once. And it's now sitting by the back door, ready for disposal. I won't go into detail, just read from the website for yourself. I don't doubt what it says is true, and I stopped using my microwave right then and there.
My daughter first tried to "enlighten me" when she was visiting, and I appeased her by allowing her to remove my microwave from the kitchen to basement storage. But at the end of her visit, I was waving good-bye to her with one hand and had the other hand on the basement door ready to retrieve my microwave. "She's totally crazy" I thought--no microwave???!!!
Since then, I revisited the subject with her and she reminded me of the "watering plant" experiment; where two identical plants were watered--one with tap water and one with microwaved water; and the microwave-watered plant died. She also suggested I google "microwave hazards and read it for yourself". I did and I was convinced. I'll never use a microwave again.
In the short time I've gone without it and used the stove, I've discovered a few things I like about not having a microwave:
-I can have all the meal dishes cooking on the stove at one time, and monitoring their doneness, versus putting dishes individually in the microwave for a few minutes to several minutes each.
-I do not have to overheat the first few dishes going into the microwave so they are still hot when the last dish is ready for the table.
-I get benefits like bacon grease for frying and pan scrapings for gravy.
-I use fewer dishes. I cook, refrigerate and reheat in the same pan.
-Food tastes better. Hubby noticed this immediately!
My peace of mind is well worth it!!! Life is more simple.
Sunday, October 2, 2011
Sweet, Lucious Grape Juice
My annual preserving agenda would not be complete without a visit to pick grapes for grape juice at Firefly Berries (Dean and Tonya Sonner)--formerly Sterling Farm. Their variety of grapes (and other berries) are so sweet that the juice needs no added sugar (and I have a sweet tooth, so that says a lot!) We have been making this annual trip for several years, but always seem to underestimate how much we'll need to get through the Winter. We end up coveting the last few jars. This year we wanted to be sure we had enough--
Why so much grape juice? Aside from the taste, grape juice is better for the heart than orange or grapefruit juice. An 8-10 oz glass of grape juice daily reduces the risk of platelets forming clots which can lead to heart attacks. Since we have a glass of juice daily; we thought why not have the healthier of the three, and one which is derived from local produce.
The title of this post gives me away--I love our homemade grapejuice.
All 74 pounds of them!
Why so much grape juice? Aside from the taste, grape juice is better for the heart than orange or grapefruit juice. An 8-10 oz glass of grape juice daily reduces the risk of platelets forming clots which can lead to heart attacks. Since we have a glass of juice daily; we thought why not have the healthier of the three, and one which is derived from local produce.
Homemade grape juice is of better quality; but, surprisingly, cheaper!
(that is if you consider the home-processing time spent enriching--I do!)
Two quarts of homemade juice (including the canning lid) is cheaper and has a richer flavor than two quarts of W*****'s grape juice from concentrate.
The juicing process is very simple; basically, wash grapes and put in steamer pot and turn on the heat. The juice will flow through plastic tubing to your waiting pot or jars. Process pints & quarts for 15 min in a boiling water bath. For juice-extracting equipment, I recommend the Mehu-Liisa Steamer/Juicer. It must be ordered online (google it). It's expensive, but I settled on this brand after much research and blogging with cooks.
One of thirty-four quarts!
The title of this post gives me away--I love our homemade grapejuice.
Thursday, August 11, 2011
A few Canning Tips
Here's two canning tips that you won't find in the books:
Tip #1: To heat my jars, I use my roaster. I fill it with jars, either standing or laying down, then add water in and around the jars. I turn the setting to 200 and forget about them until I'm ready to use them. (Don't turn much past 200 or the water will boil and the jars may break when you take them out to fill them.) I also toss in the lids and bands to heat. As you take some out, add new ones. For smaller or fewer jars, you could also use a large, deep electric fry pan.
This keeps the jars out of your way but always ready to use.
Tip #2: Get a pair of gloves with rubber palms and finger tips. These are so handy when: putting the lids and bands on hot jars, handling hot jars going into or coming out of the canner, keeping hands safe when using a food slicer or knife... The pair I like most came from Menards. They are pictured below, called "HyFlex Foam--Ansell". I like them because the rubber extends over the fingertips, the material part is mesh so your hands won't sweat, they are washable.
Sunday, June 26, 2011
Berries Galore!
I ordered four flats of organic strawberries, sight unseen, over the phone from Joe Schwen of Heart Beet Farm. While I knew Joe's berries would be of good quality; I really wasn't sure just how many berries are in four flats. Well, now I know--this is one flat:
Part A: Select largest, juiciest-looking berries for eating
Part B: Select large, red ones for freezing
Part C: Slice enough berries to fill 8 dehydrator trays (using mandolin)
Part D: Canned Strawberries using honey
Part E: Now, about those stem ends.... Sauce Master to the rescue!
This times four--I have lots of strawberries to process!
I needed a new plan. (If I processed them as I usually would, i'd be hulling for two days and have a house filled with fruit flies.) Besides, strawberries are the only fruit that doesn't ripen after picked--they will turn color and soften, but their flavor will not improve. (always select them already ripe). Here is the five-part plan I came up with:
Part A: Select largest, juiciest-looking berries for eating
For best keeping in fridge, do not wash until ready to use.
Part B: Select large, red ones for freezing
We use these for smoothies, health drinks, margaritas and fruit soup.
You can also use them to make jam/sauce during the Winter.
To freeze, just wash and drain, put on cookie sheet as above and freeze. After frozen, transfer to freezer bag or storage container. Thaw in the fridge. The little gadget in pic front is a strawberry huller--comes in handy.
Part C: Slice enough berries to fill 8 dehydrator trays (using mandolin)
I use dried fruit for making granola--yummy!
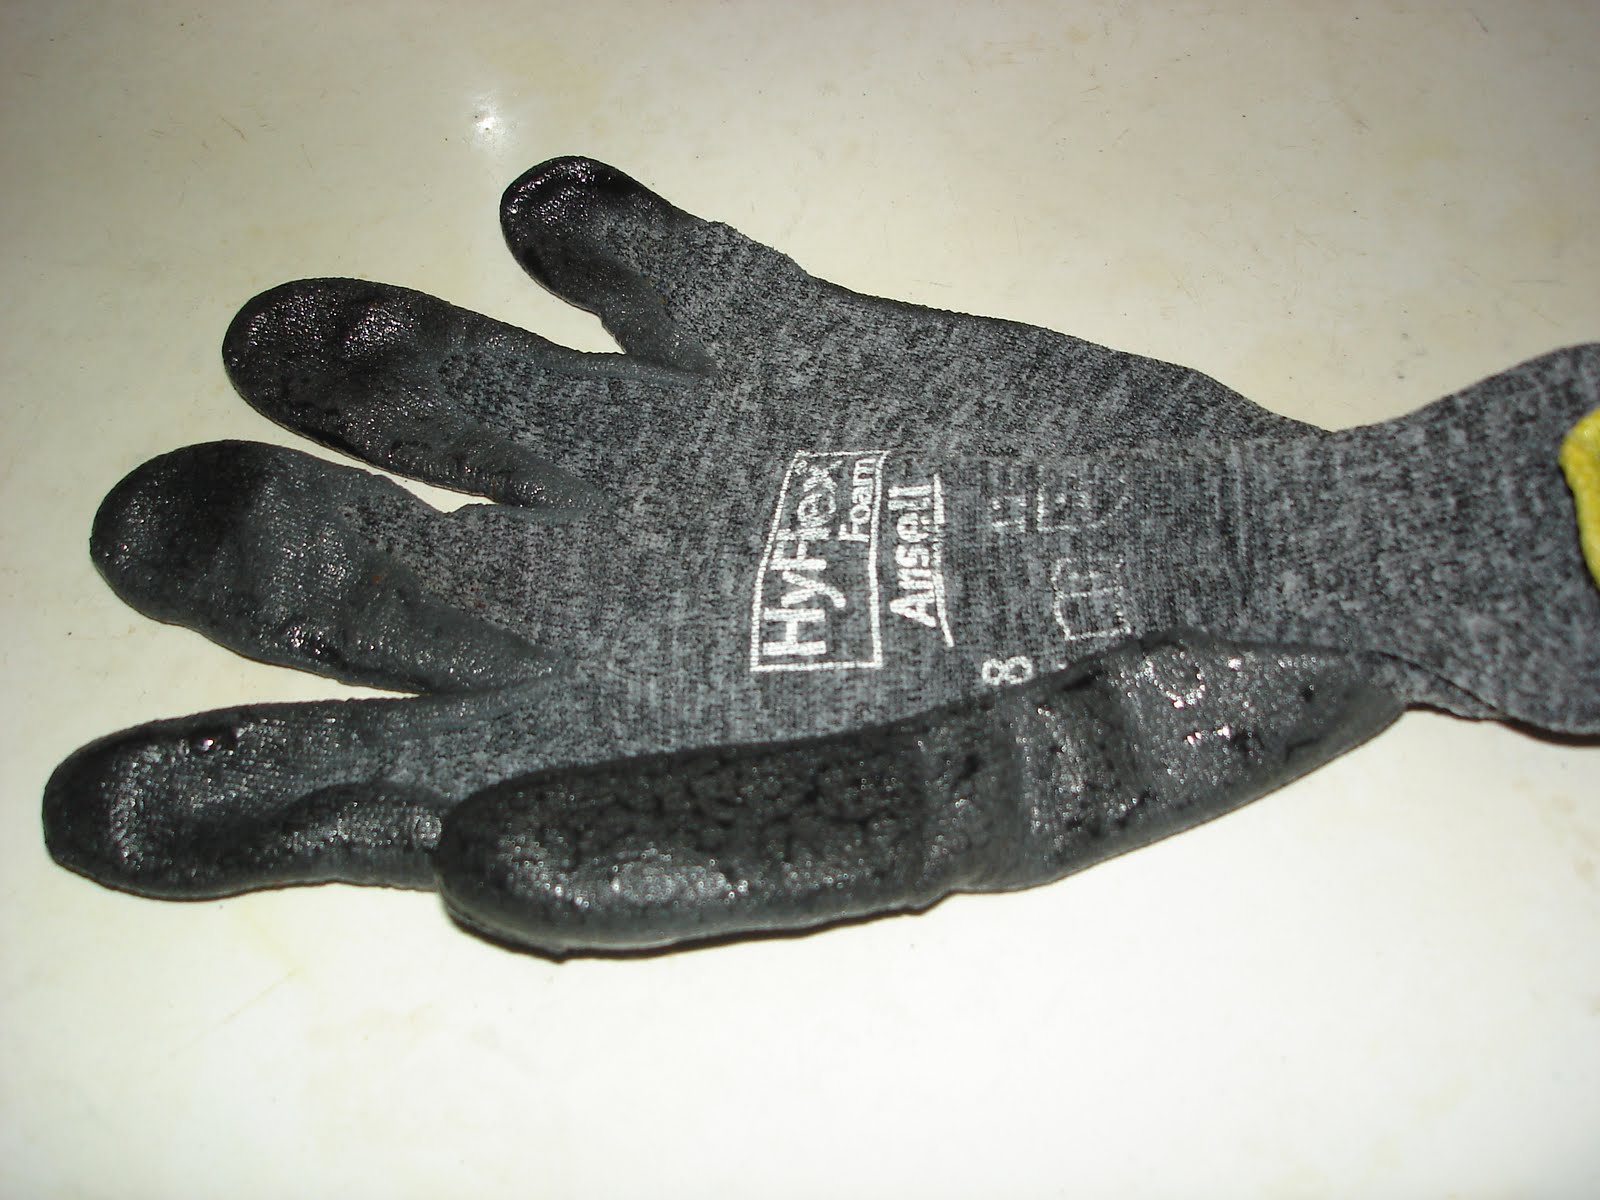
Using my mandolin made uniformly-thick slices in a fraction of the time as using a knife. I put the mandolin on the widest opening (1/4") and two swipes for the med-sized berries, one swipe for the small ones. Don't worry about how much berry is left on the stem (1/4-1/3 berry); it's not going to waste. My mandolin is a Bron; and I don't know what I'd do without it. It's a bit pricey, but definately worth it if you do a lot of food processing and/or slicing. Also consider getting a pair of cut-resistent gloves and you're ready!Part D: Canned Strawberries using honey
We love a large spoonful of these over our morning yogurt.
For canned strawberries, slice berries as above (using mandolin and saving stem ends). For each 3-4 cups of berry slices, use 1/2 cup honey. Put berries and honey in cooking pot and let sit two hours. Then, heat to boil and cook gently for five minutes (if you skip this, the fruit will float to the top of the jar). Put berries into hot half-pint or pint jars, add lids and screw bands. Put jars on rack in pan of hot water with enough water to cover jars by 2". Bring water to boil, cover pot and boil for ten minutes. Remove jars from pot and cool.Part E: Now, about those stem ends.... Sauce Master to the rescue!
I ran the stem ends with berry on through my sauce master. I used the salsa screen so I would get small pieces and not puree. This did allow for a few leaf pieces to sneak through, but they could be easily picked out (or ignored). With the fruit pulp and juice, I made:
Strawberry Sauce
Use in, or on, cake, muffins, ice cream, biscuits...
I made the sauce by adding honey or sugar to some of the fruit pulp/juice (use any amount to taste or refer to guide in cookbook, or do same ratio as for preserves). Process pints and half pints in boiling water bath 10 minutes.
Strawberry Jam
Make strawberry jam using instructions that comes with Certo pectin which you'll need to buy in order to make jam or jelly. You'll need one pouch of pectin for 8 pints of jam and 2 pouches for 8 pints jelly.
Hot Pepper Strawberry Jelly
This makes an delicious appetiser spread over cream cheese and served with crackers. It's also good on corn bread or in meat/fowl marinades.
To make the strawberry pepper jelly, I used the hot pepper jelly recipe on the inside instructions of the Certo package and substituted half strawberry pulp for the chopped peppers (plus adding some hot chilis of my own).
And a bonus:
Pure Strawberry Juice--almost a quart.
By pulling out mostly fruit pulp for the strawberry sauce and jam, I ended up with extra juice. We'll either have it for breakfast juice or, hmmm--maybe strawberry ice tea...
Sunday, May 29, 2011
Spring Greens
Nothing wakes your senses from Winter slumber like bright, crisp, fresh Spring greens. Nature's plan is for these to act like a tonic, cleansing your system of winter fats (and holiday eating). Our tastebuds are so eager for that first crunchy salad! I like to make supper salads; lots of greens, chunks of any meat or fish and whatever fresh veggies are coming into farmers market. This is one way to stretch your meat budget as half or less a portion of meat is plenty for a filling salad.
A good salad spinner is a must in my kitchen for drying greens well after rinsing in cool water. Drying greens, and other veggies, allows for dressings to coat them better and keeps them from spattering when cooking them in oils or fats.
Saturday, May 21, 2011
Making Pasta
I really need a drying rack
My Pasta
making pasta with daughter Abby
I'll be posting some of my favorite pasta sauces, salads and dishes in my recipe file soon.
Subscribe to:
Posts (Atom)